Mar 20, 2012

Questions and Answers From Night Owl Crafting

NightOwlCraftingHOOOOOOOOO ARE YOU?
1. What do you look forward the most about springtime?
I love the smells of wisteria and jasmine in the air. The blooming colors of the azaleas and 70 degree days.
2. Do you have anyone in your immediate family that you
celebrate their birthday in the spring?
No birthday celebrations in the spring....
3. What is the weather like where you live in the springtime?
The weather in Carolina's is beautiful. Perfectly warm and occasional thunderstorm; we need the rain.
4. Do you do spring cleaning?
I spring clean all year long. I'd rather be crafting.
5. What activities do you do in the spring?
I've gone to Brookgreen Gardens at least 4 times. "There are 300 year-old Live Oak trees that were planted in the early 1700s when Brookgreen Gardens was a thriving rice plantation. It has the first public sculpture garden in America, has in its collection more than 1,400 works by over 350 sculptors. Exhibited within the gardens is the largest and most comprehensive collection of American figurative sculpture in the country, by sculptors who worked from the early nineteenth century to the present."


Mar 19, 2012

Happy Days.......

I'm so excited I can't stand it!  I bought this online last week.  It's suppose to be here tomorrow.  I've put off new projects because I want to do it with my new machine.
 Isn't she pretty......

Ugly to Lovely

Riding in my Daughters car, I noticed these eye popping colors in a bag on the backseat floor. I asked her if she went shopping, actually, her friend's Mother thought she might like some clothes she was getting rid of. My Daughter was giving the bag to goodwill. Naturally, I had to see what it was.
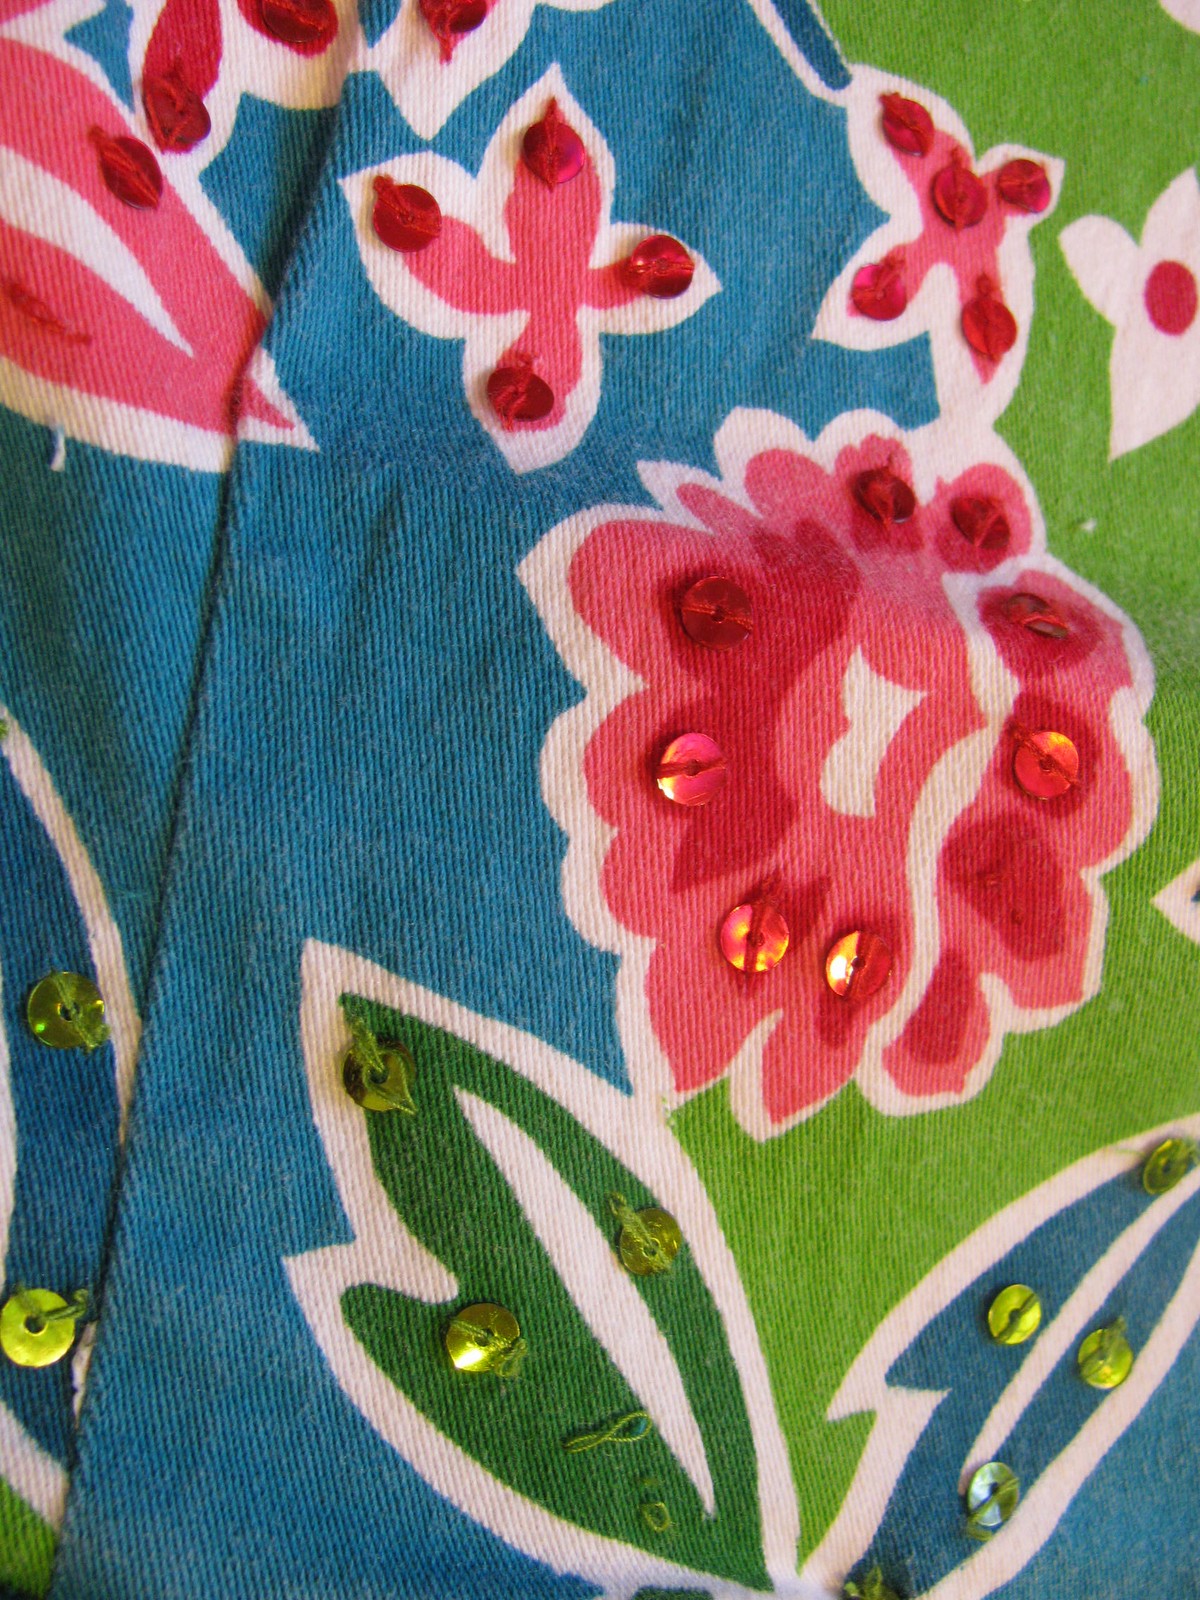
This is what caught my eye; it is the ugliest jacket I have ever seen.


My Mother said what's wrong with it, I would wear it..... Need I say more? Sorry, Mother!
When I was looking at all the details; the buttons, the sequins , the bright bold beautiful colors, all I could think of was what I would make out of it.


Here is what I came up with. This lovely pattern, FREE, from Made by Rae.

I had to cut the purse pattern in 3's, on the front side.
I sewed them together and still pleated it.
I did not do the cute buttons on the front either, because of the adorable pocket I incorporated.
I did not use a magnetic snap,


I used Velcro) because I made it for a young lady).
Lastly I made the strap longer, I like over the shoulder bags, they are so easy to carry around.


Thanks for stopping by!


If you download the pattern be sure to leave a comment to Rae.

Mar 12, 2012

Harmony in Paris

My Granddaughter and all her little friends are totally into PARIS, PARIS, PARIS.

So, with that theme in mind, this is what I made this for her birthday.


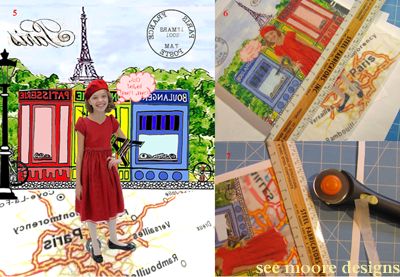
Once you have the picture you want to mod podge onto your canvas, follow these easy instructions:


1. Iron tissue paper
2. Measure and cut tissue paper
3. Run double sided adhesive along edge of 8 1/2 X 11 inch sheet of White printer paper
4. Be sure to put the rough side of the tissue paper up.  It's more pores then the smooth side.

5.  Flip the photo to be printed, if you use PSE (Photo Shop Element), when you go to print it gives you an option to flip the picture.
6.  Trim the picture (I've used exacto knife and it tends to tear the tissue paper)
7. Place your photo paper on the canvas, and hold it in place with a ruler.
8. Lightly apply a layer of mod podge to upper canvas (I don't like to split a face, you don't want too many wrinkles on that part of the picture).
9. Gently lay the picture on the mod podge and quickly move on  to the bottom half, and repeat.
10. Gently DAB mod podge to photo.  NOTE:  Be very careful, the colors start to bleed through the tissue paper, regularly check your sponge, once you have color in the mod podge, switch to a new sponge and avoid areas already saturated.  Set to dry for at least 2 hours (to be sure).11.  Second coat, again watch for the color to bleed,  after this coat dries, you are relatively safe from the bleeding.

12. Now, my picture basically only covers the top of the canvas, around the edge I printed and mod podge this:

14. Let it dry again for 2 hours, and add your final coat of mod podge.  After that's completely dry I spray the entire canvas with a clear coat enamel spray, if you don't do this, here's what could happen, if the picture ever gets wet, it will leave water spots on your photo.
 FYI:  It's easy, but there have been times when I mess up and I have to paint over a picture to start over;  if this happens to you, paint over with white acrylic paint.

Thanks for stopping by!
***********
Here's some more mod podged art I done.
I've been doing the PSE mod podge for years now.  I love homemade personal gifts.  It's seems that every Christmas the funds are tight.  Here's one gift I made and gave my daughter Deby with pictures of her and her best friend taken on a trip they did together.
I bought the canvas at the dollar store, there was a picture of a bird on them, I painted them white, then mod podged.
Here's the MONA DEBY, I love this one.