Mar 26, 2012

Easy Hanging Towel Tutorial

My pattern, based on the same premise as the Embroidery Library pattern, came out like this... it is so easy to make.

Hanging Towel Tutorial


What you need:

Dish towel
Coordinating fabric scrap 8 1/2" x 5"
Small scrap of interfacing 8 1/2" x 2 /12"
Thread
Scissors
Chalk


Cut 2


Cut fusing
pin to middle of fabric

Sew 1/4" around the scalloped edge


 Turn inside out and press with iron
 Find center, measure 2" from scalloped edge,
mark, on each side, measure in 1" from edge, mark

 Stitch a tight zigzag, if you have to, do it twice on each side like a large "button hole"


Cut top edge of towel


Gather top edge of towel
Sew fabric to one side of gather towel

 Take the other side and tuck up inside the fabric, and pin
Top stitch to secure both sides

 Top stitch all the way around for fabric 


Prepare to cut the "button-hole" with seam ripper


To hang the towel slip over oven handle 
Pull through hole in fabric


This is a great quick and easy homemade gift idea.


Happy Sewing!

Thanks for stopping by!


Mar 21, 2012

Blogging Tag

Now I've been tagged, I received an e-mail from Meegan over at What Meegan Makes.  It said I had been tagged in a post and I need to come right over and check it out.
When I got there, she was answering questions for a fun blogging game.  I got to know a little more about Meegan and how her blog came about.  And she tagged 10 other bloggers including me.

Here are the rules to this little blogging game:

Rules:
1. You must post the rules!
2. Answer the 11 questions the tagger posted for you and then create 11 new questions to ask the people you've tagged.
3. Tag 11 bloggers and link them in your post.
4. Let them know you've tagged them.


I am tagging these bloggers that I would like to learn a little more about.

Marilyn4 You With Love 
Amy - While Wearing Heels          


Here's the questions from Meegan:
1. How long have you been blogging?  
I have been blogging only since January of 2012.  I have been Blog Stoking since 2007, always looking for free patterns; my searches have taken me to some wonderful blogs and great pattern.
2. What do you love about blogging?
It's been so fun meeting new people and making new friends.  Everyone is so kind and supportive, some of you girls are very funny. 
3. What do you do when you have blogger's block and can't think of a new post? 
So far that hasn't happened. Course I only post 1 project a week.  Truth is I've thought about blogging for a few years.  I have tutorial photos for at least 5 more projects, that I've done over the past year.  I can always go to that file if I have a block....
4. What is your favorite room in your home and why? 
I would have to say the kitchen.  Not because it's large or fine, it's quite small.  (I live in a 900 square foot condo.)  It's because of all the wonderful smells and fantastic recipes I've acquired and created over the years.
5. What is your favorite dessert?
This is a tough question, I love chocolate and I love lemon.  So I have to go with Death by Chocolate, what a way to go.
6. What is your favorite band/singer? 
Another tough one!  I'm all 70's.  Rock and Roll, Rhythm and Blues, Ok, one band....... STYX.  I've seen them 20 times, at least, live.  I've seen them from  Alpine Valley, WI to Red Rocks, CO to a carnival cruise, Jamaica, and here,  I saw them in Oct 2011 at the House of Blues in Myrtle Beach, SC.  I love Tommy Shaw.
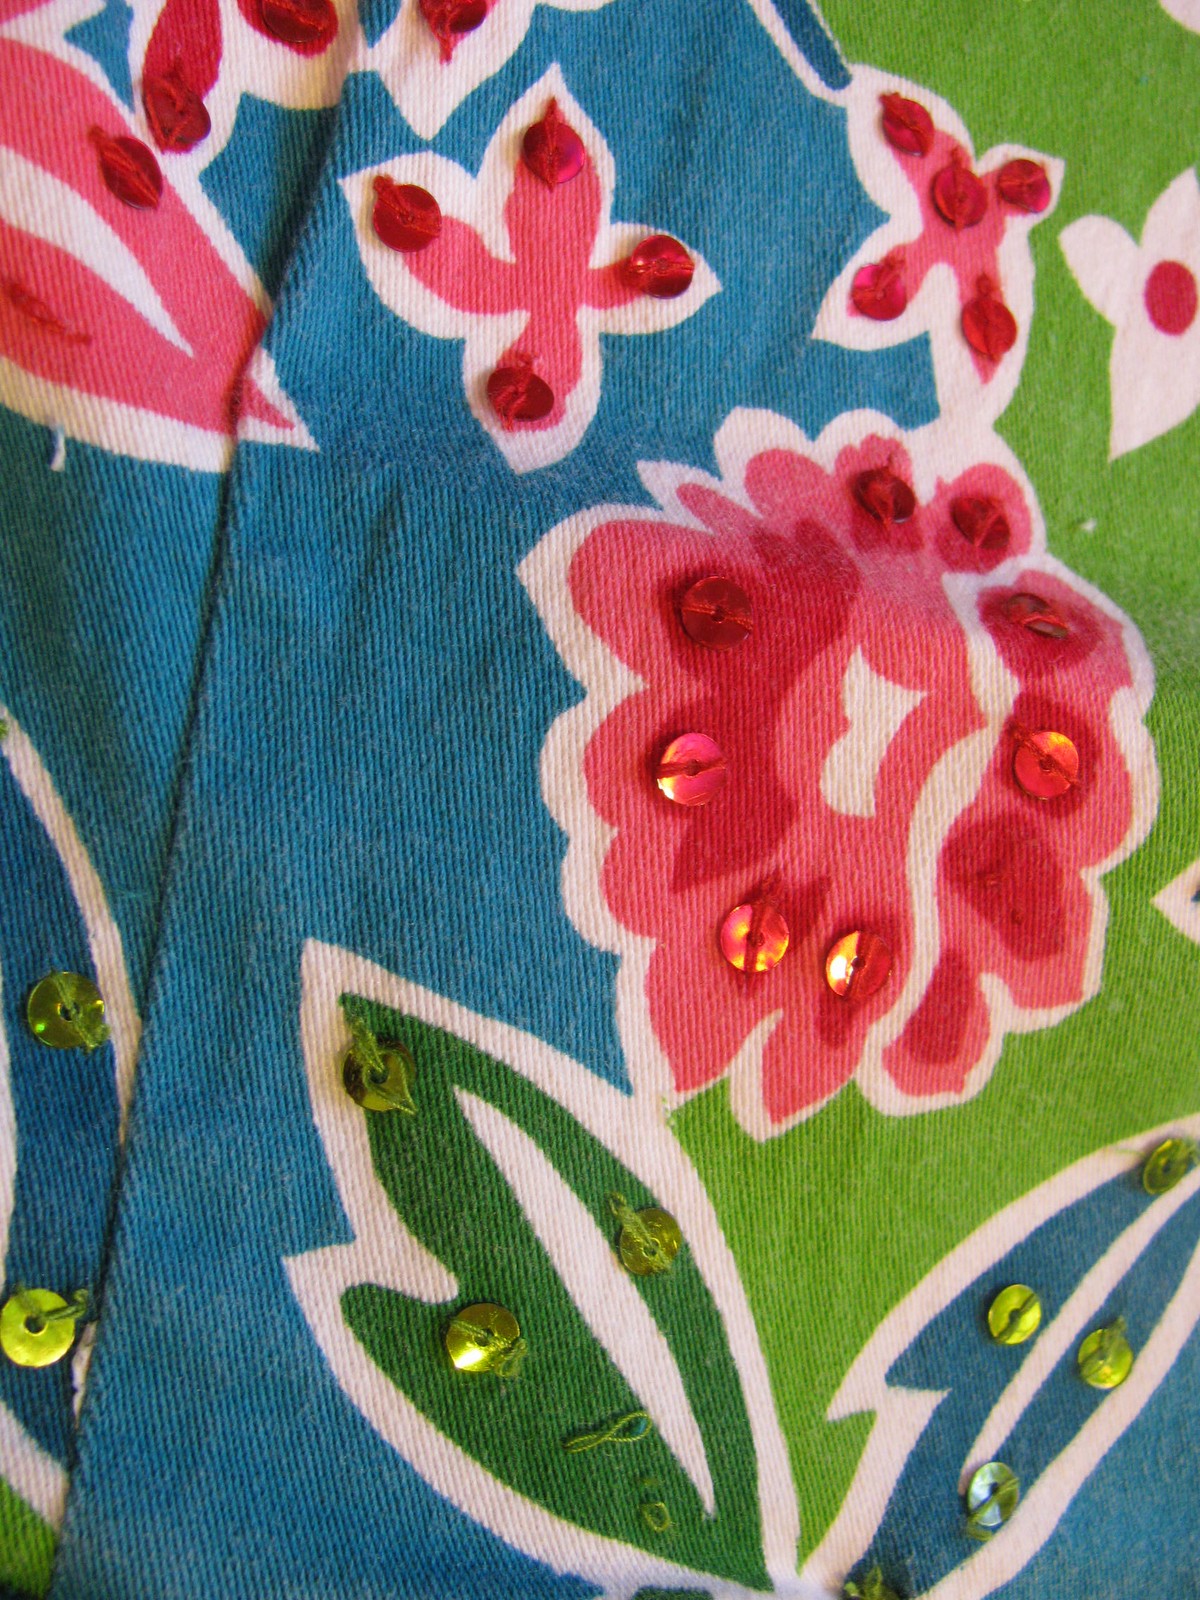
7. Florals or graphic prints? 
Florals, they make me feel all girly and romantic.
8. Who is your favorite blogger? 
I'm not sure I know how to define blogger, so it's an impossible question to answer.  But everyone I've asked for any kind help or direction, have been more than happy to direct me.  I'm so grateful.
9. What is your favorite HGTV show?  
I don't watch tv.  At one time, I loved Martha Stewart, until she went live, was she on HGTV?  I liked design on a dime.  So many great ideas for less money.
10. How do you like to spend your free time? 
If you can get me off the computer.......here in the South, there are thrift stores and consignment shops everywhere.  They are so much fun to go through.  There are many here, in Calabash, within walking distance.
11. What was the last thing you pinned on Pinterest? 
It was old fashion sugar cookies.  It's a tradition to make cookies when I visit the grandchildren.  Cutting them out in fun shapes and decorating them, of course the children mostly like to eat them.  But I'm always interested in a better recipe.

Thanks for tagging me, Meegan!  It was fun!
My emails:
seemooredesigns@gmail.com
cgammeter@yahoo.com

Connie @ Hot Flash'n Craft'n

Okay Girls, I hope you have as much fun as I did, I look forward to reading all about you and your blog, your tips, and advise. 

Now here are the questions I have for those bloggers I tagged:

1. How long did it take you to get your blog up and running smoothly?


2. What's your favorite herb, why, and do you make with it?


3. What's your best home remedy?


4. How do you get your whites, their whitest?


5. What's your last minute, homemade dinner?


6. What's your advise on growing your blog?


7. What's your favorite place you've visited and why?


8. Winter, spring, summer or fall?  Which is your favorite season, and why?


9. Who inspires you, most?


10. Where would a new blogger go or if you are a new blogger, where would you go, when you need help with setting up your PAGES if they want them different then blogger template offers?


11. In the summer, what is your favorite family activity?


Thank you Meegan, I enjoyed it.
Have a great day!

Mar 20, 2012

Questions and Answers From Night Owl Crafting

NightOwlCraftingHOOOOOOOOO ARE YOU?
1. What do you look forward the most about springtime?
I love the smells of wisteria and jasmine in the air. The blooming colors of the azaleas and 70 degree days.
2. Do you have anyone in your immediate family that you
celebrate their birthday in the spring?
No birthday celebrations in the spring....
3. What is the weather like where you live in the springtime?
The weather in Carolina's is beautiful. Perfectly warm and occasional thunderstorm; we need the rain.
4. Do you do spring cleaning?
I spring clean all year long. I'd rather be crafting.
5. What activities do you do in the spring?
I've gone to Brookgreen Gardens at least 4 times. "There are 300 year-old Live Oak trees that were planted in the early 1700s when Brookgreen Gardens was a thriving rice plantation. It has the first public sculpture garden in America, has in its collection more than 1,400 works by over 350 sculptors. Exhibited within the gardens is the largest and most comprehensive collection of American figurative sculpture in the country, by sculptors who worked from the early nineteenth century to the present."


Mar 19, 2012

Happy Days.......

I'm so excited I can't stand it!  I bought this online last week.  It's suppose to be here tomorrow.  I've put off new projects because I want to do it with my new machine.
 Isn't she pretty......

Ugly to Lovely

Riding in my Daughters car, I noticed these eye popping colors in a bag on the backseat floor. I asked her if she went shopping, actually, her friend's Mother thought she might like some clothes she was getting rid of. My Daughter was giving the bag to goodwill. Naturally, I had to see what it was.
This is what caught my eye; it is the ugliest jacket I have ever seen.


My Mother said what's wrong with it, I would wear it..... Need I say more? Sorry, Mother!
When I was looking at all the details; the buttons, the sequins , the bright bold beautiful colors, all I could think of was what I would make out of it.


Here is what I came up with. This lovely pattern, FREE, from Made by Rae.

I had to cut the purse pattern in 3's, on the front side.
I sewed them together and still pleated it.
I did not do the cute buttons on the front either, because of the adorable pocket I incorporated.
I did not use a magnetic snap,


I used Velcro) because I made it for a young lady).
Lastly I made the strap longer, I like over the shoulder bags, they are so easy to carry around.


Thanks for stopping by!


If you download the pattern be sure to leave a comment to Rae.

Mar 12, 2012

Harmony in Paris

My Granddaughter and all her little friends are totally into PARIS, PARIS, PARIS.

So, with that theme in mind, this is what I made this for her birthday.


Once you have the picture you want to mod podge onto your canvas, follow these easy instructions:


1. Iron tissue paper
2. Measure and cut tissue paper
3. Run double sided adhesive along edge of 8 1/2 X 11 inch sheet of White printer paper
4. Be sure to put the rough side of the tissue paper up.  It's more pores then the smooth side.

5.  Flip the photo to be printed, if you use PSE (Photo Shop Element), when you go to print it gives you an option to flip the picture.
6.  Trim the picture (I've used exacto knife and it tends to tear the tissue paper)
7. Place your photo paper on the canvas, and hold it in place with a ruler.
8. Lightly apply a layer of mod podge to upper canvas (I don't like to split a face, you don't want too many wrinkles on that part of the picture).
9. Gently lay the picture on the mod podge and quickly move on  to the bottom half, and repeat.
10. Gently DAB mod podge to photo.  NOTE:  Be very careful, the colors start to bleed through the tissue paper, regularly check your sponge, once you have color in the mod podge, switch to a new sponge and avoid areas already saturated.  Set to dry for at least 2 hours (to be sure).11.  Second coat, again watch for the color to bleed,  after this coat dries, you are relatively safe from the bleeding.

12. Now, my picture basically only covers the top of the canvas, around the edge I printed and mod podge this:

14. Let it dry again for 2 hours, and add your final coat of mod podge.  After that's completely dry I spray the entire canvas with a clear coat enamel spray, if you don't do this, here's what could happen, if the picture ever gets wet, it will leave water spots on your photo.
 FYI:  It's easy, but there have been times when I mess up and I have to paint over a picture to start over;  if this happens to you, paint over with white acrylic paint.

Thanks for stopping by!
***********
Here's some more mod podged art I done.
I've been doing the PSE mod podge for years now.  I love homemade personal gifts.  It's seems that every Christmas the funds are tight.  Here's one gift I made and gave my daughter Deby with pictures of her and her best friend taken on a trip they did together.
I bought the canvas at the dollar store, there was a picture of a bird on them, I painted them white, then mod podged.
Here's the MONA DEBY, I love this one.

Great Find

Look what I found this morning. I'ts (almost) the same as the one my Mother had when I was growing up. Seems like we did a lot of picnicking back then, at least that's what I remember...... Cold fried chicken, potato salad, kidney bean salad (yuck, I thought then, love it now), chips, watermelon , kool-aid...... Awe, to be a kid again.....
I stopped at the North Myrtle Beach Flea Market this morning: Located 100 Highway 17 North, (Between North Myrtle Beach & Little River), North Myrtle Beach, SC 29582, if you are ever at the beach and want to check it out.

Here's my "Great Find";  A Vintage Redmon Woven Wood and Metal Picnic Basket with Trays, Cups and Silverware
This vintage Redmon picnic basket is a real treasure. Made in Peru, Indiana in the 1950s, this basket contains most of the original pieces.

The basket is in excellent vintage condition. The plastic cups are in excellent condition. The plastic trays / divided plates are also in very good condition. The metal handles fold down and out of the way when accessing the inside of the basket. The basket has two opening lids on hinges.

This basket is very well made and will last for many years - and for many more picnics!

Contains:
- 1 Wood and Metal Woven Picnic Basket
- 1 small Table Insert
- 6 Plastic Trays / Divided Plates
- 6 Plastic Cups
- 9 pieces of Silverware (I can't be sure these are original)

Product Details:
- Product Material: Wood, Metal
- Product Dimensions: 22" long x 14" wide x 12" tall; pie shelf/table is 3" tall

Other then 2 loose staples (which are still attached) at the bottom, and the table insert is a little warped, but feel I can bring it back, it's in EXCELLENT condition. I paid $8.00. 
 I'm so excited to go picnicking....

Mar 4, 2012

Link Parties and Blog Hops

Dear Friends:  I had so much fun this last week Blog Hopping and linking up to the Link Parties, basically my first time out.  I saw so many amazing projects that everyone has linked up and some awesome recipes.  Thank you everyone for the comments about the "Bear Place Mat".  Because of him, I've tripled my followers.  Yes, I know I don't have many, yet, but I'm so grateful for the ones I have now. Thank you!!

Pencil Roll

Yes, I know this has been done a hundred times.  But what hasn't been done a hundred times is a tutorial and instructions.  I've searched and searched and no one wants to tell you how to make it, mostly because the people who do make it, are selling it.  Here is the link of the pencil roll I referenced when drawing out my own pattern @  Little Swedeheart 
I'm not really looking to sell it, I want to make it to give it away.  I have 2 Sisters and my Mother who are Stampers (big time).  My Sister Leslie, is a demonstrator for Stamp'n Up.  There's at least 6 ladies that attend a workshop hosted by a different person, once a month.  These ladies travel with their crafting tools.  My oldest Sister asked me to make her a pencil roll for her watercolor pencils.  I decided to make one for each of my family members, oh and my youngest daughter, the artist, she wanted one, too.  So, I made 4 of them.
I used fat quarters, what that means is that your roll can only be 21" or less, with 1" per pencil, that's a pencil roll for 20 pencils.


Pencil Roll Tutorial

Supplies

3 coordinating fabrics - fat quarters
pellon fusible - 806  Stitch-n-Tear®
(Prevents fabric from puckering.
Adds stability)
matching thread
matching ribbon
ruler
marking Pencil or Chalk
(2) 20 1/2” X 8 1/2” of one fabric
(1) 20 1/2” X 8 1/2” fusible
(2) 20 1/2” X 4” of second fabric
(1) 20 1/2” X 4” of fusible
(3) 21 1/2” X 2” of third fabric
(2) 9” X 2” of third fabric
Ribbon 


Cut fabric pieces


Fold and iron border pieces, fold in half, iron, then fold both cut edges to the middle, iron


Take the second fabric, wrong sides together, and attached border, pin, and sew close to border edge


From the top, be sure to measure to keep it even


Put fusible in between the first fabric pieces, and lay the second fabric piece on top, measure across to keep it even

Pin together,


Find the center and with ruler and mat, start from center to end and mark every 1"


With this one, my first one, I sewed from bottom to top, but you can sew from bottom to top of border, if you prefer
Trim threads....


Pin outside border and sew


DON'T FORGET THE RIBBON on the other side


Finish with the top and bottom border
To get the quilted look I washed and dried the pencil roll to be sure the fusible I used DID NOT break down.


Happy Sewing!
Thanks for Stopping By.